Update, Upgrade the System
#apt-get update -y && apt-get upgrade -y
Install ZIP and UNZIP
#apt-get install zip -y && apt-get install unzip -y
Enable VIM Copy Paste
#apt-get install vim -y
Please create the following file: /etc/vim/vimrc.local
#nano /etc/vim/vimrc.local
" This file loads the default vim options at the beginning and prevents
" that they are being loaded again later. All other options that will be set,
" are added, or overwrite the default settings. Add as many options as you
" whish at the end of this file.

" Load the defaults
source $VIMRUNTIME/defaults.vim

" Prevent the defaults from being loaded again later, if the user doesn't
" have a local vimrc (~/.vimrc)
let skip_defaults_vim = 1
" Set more options (overwrites settings from /usr/share/vim/vim80/defaults.vim)
" Add as many options as you whish

" Set the mouse mode to 'r'
if has('mouse')
set mouse=r
endif

" Toggle paste/nopaste automatically when copy/paste with right click in insert mode:
let &t_SI .= "\<Esc>[?2004h"
let &t_EI .= "\<Esc>[?2004l"

inoremap <special> <expr> <Esc>[200~ XTermPasteBegin()

function! XTermPasteBegin()
set pastetoggle=<Esc>[201~
set paste
return ""
endfunction
INSTALL APACHE2
#apt-get install apache2 -y
Replace “AllowOverride None” to “AllowOverride All”
#vim /etc/apache2/apache2.conf
Activate rewrite, headers and expires
#a2enmod rewrite
#a2enmod headers
#a2enmod expires
Install MariaDB and Secure the instalation
#apt install mariadb-server -y
#mysql_secure_installation
Create a mySQL database using UTF-8 character set.
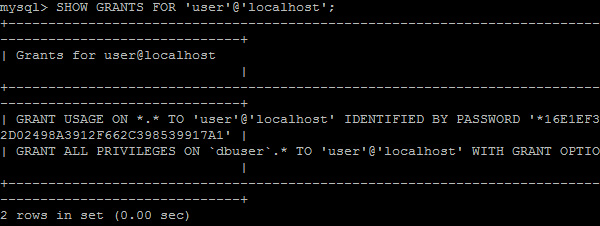
mysql>CREATE DATABASE dbuser CHARACTER SET utf8mb4 COLLATE utf8mb4_unicode_ci;mysql>CREATE USER 'user'@'localhost' IDENTIFIED BY 'password'; mysql>GRANT ALL PRIVILEGES ON dbuser.* TO 'user'@'localhost' WITH GRANT OPTION; mysql>CREATE USER 'user'@'%' IDENTIFIED BY 'password'; mysql>GRANT ALL PRIVILEGES ON dbuser.* TO 'user'@'%' WITH GRANT OPTION; mysql>FLUSH PRIVILEGES; mysql>SHOW GRANTS FOR 'user'@'localhost';

mysql>SELECT USER FROM mysql.user;
To remove an account, use the DROP USER statement
mysql>DROP USER 'user'@'localhost';
Displaying list of all databases, use the SHOW DATABASES statement
mysql>show databases;
To remove an database, use the DROP DATABASE statement
mysql>DROP DATABASE dbuser;
Installing PHP and Additional Extensions
#apt install php libapache2-mod-php php-mysql -y
#apt install php-curl php-gd php-mbstring php-xml php-xmlrpc php-soap php-intl php-zip -y
Download wordpress files on /var/www/html or /var/www/ folder depend on the Operating System (Deb 8, Deb 7)
#cd /var/www/html
#apt install curl
#apt install wget
#curl -O https://wordpress.org/latest.tar.gz
#wget --no-check-certificate http://wordpress.org/latest.zip
Extract the wordpress files in the /var/www/html directory:
#tar xzvf latest.tar.gz
#unzip latest.zip
Move all extracted folder files to /var/www/html/
#cd /var/www/html/
#mv * /var/www/html/wordpress/* /var/www/html/
#rm -rf /var/www/html/wordpress/
Create UPGRADE and UPLOADS directory so that WordPress won’t run into permissions issues when trying to do this on its own following an update and uploads to its software:
#mkdir -p /var/www/html/wp-content/upgrade
#mkdir -p /var/www/html/wp-content/uploads
Set the user, group ownership and permissions for the directory:
#chown -R www-data:www-data /var/www/html
Next we will run two find commands to set the correct permissions on the WordPress directories and files
#find /var/www/html/ -type d -exec chmod 750 {} \;
#find /var/www/html/ -type f -exec chmod 640 {} \;
Installing via browser http://ipaddress and follow the instruction