Step One Install phpMyAdmin
The EPEL repository can be made available to your server by installing a special package called epel-release. This will reconfigure your repository list and give you access to the EPEL packages. To install, just type:
#yum install epel-release
Now that the EPEL repo is configured, you can install the phpMyAdmin package using the yum packaging system by typing:
#yum install phpmyadmin
phpMyadmin is up, try to access at
http://server_domain_or_IP/phpMyAdmin
Forbidden
You don’t have permission to access /phpMyAdmin on this server. We will need to modify this a bit to get it to work correctly for our installation. Open the file in your text editor now so that we can make a few changes:
#vi /etc/httpd/conf.d/phpMyAdmin.conf
     # Apache 2.4
       #Require ip 127.0.0.1
       #Require ip ::1
       Require all granted
     # Apache 2.2
       #Order Deny,Allow
       #Deny from All
       #Allow from 127.0.0.1
       #Allow from ::1
Restart the Apache web server to implement your modifications by typing:
#service httpd restart
With that, our phpMyAdmin installation is now operational at http://server_domain_or_IP/phpMyAdmin
Changing the Application’s Access Location
We simply need to rename the alias. Open the phpMyAdmin Apache configuration file now:
#vi /etc/httpd/conf.d/phpMyAdmin.conf
We want to disable these specific aliases since they are heavily targeted by bots and malicious users. In our case, we’ll go with /dbadmin.
To apply our intended changes, we should remove or comment out the existing lines and add our own:
# Alias /phpMyAdmin /usr/share/phpMyAdmin
# Alias /phpmyadmin /usr/share/phpMyAdmin
Alias /dbadmin /usr/share/phpMyAdmin
To implement the changes, restart the web service:
#service httpd restart
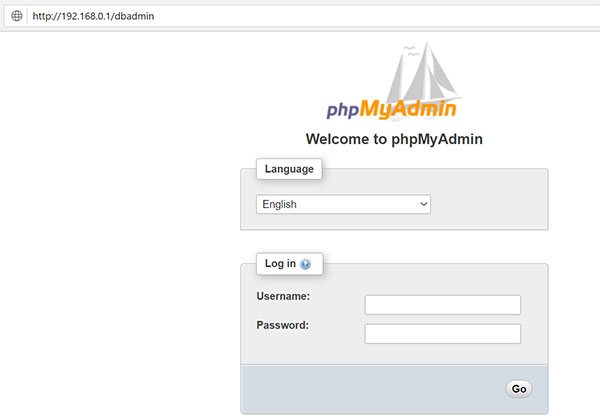
Now, if you go to the previous location of your phpMyAdmin installation, you will get a 404 error: http://server_domain_or_IP/dbadmin